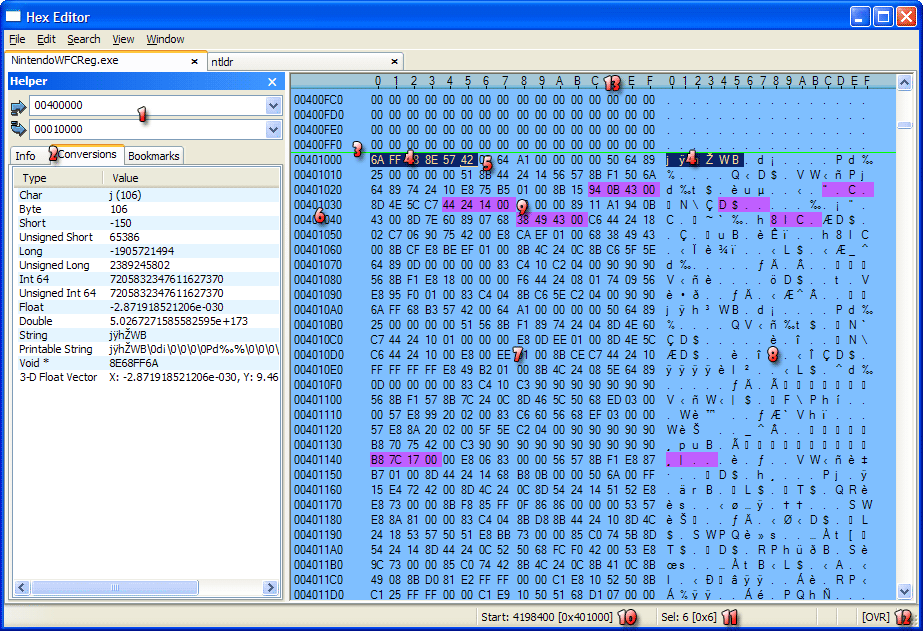
A line that displays chunk boundaries in RAM. Not used when mapping files. Default color is green.
Selection
The currently selected bytes. Default color is dark blue. Text inside the selection area is inverted.
Cursor
The cursor (or caret) is represented by an inverse-color line under the selected byte, with a bent left side.
Address Area
The addresses of the left-most bytes on a line. There are 16 bytes on a line, so the addresses increment by 16.
Addresses can be displayed in 4 ways. See Hex Addresses below.
Hex Area
Each byte value is shown in hexadecimal form.
Data Area
Each value is displayed in the selected data type.
Pointers
Pointers are highlighted. Purple is the default color for pointers. This applies only to RAM.
Selection Start
Displays the address of the start of a selection. If there is no selection, it displays the cursor position.
Selection Length
Displays the length of the selection. If there is no selection, this is blank.
Edit-Insertion Mode
Displays the insertion mode that will be performed when edits are made.
Symbol
Meaning
[OVR]
If an edit is confirmed, the edit will overwrite the bytes under it. This is always used for RAM.
[INS]
If an edit is confirmed, the edit will be inserted.
Switch edit-insertion modes by hitting Ins.
This should not be confused with the insertion mode used during editing. The insertion mode used during editing (INS/OVR) depicts how bytes are entered into the edit itself, while this edit-insertion mode depicts how the entire edit itself is written once confirmed.
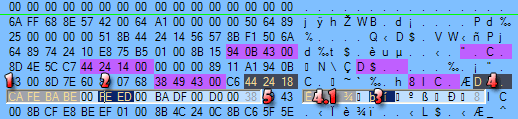
Ruler
Displays the lowest 4 bits of the addresses under each ruler segment, in hexadecimal form.
Editing Mode
To enter Editing Mode, simply start typing into either the Hex Area or the Data Area. Press Enter to confirm an edit and Escape to cancel an edit.
Number
Name
Description
Edit Box
A preview box showing the contents of the edit you wish to make. It has a border and its insides are lightened, clearly indicating the editing region. The region sizes itself based on the size of the edit you are making.
Caret
Text is entered at the caret position. Whether the text is inserted or overwrites depends on the edit mode, which is not to be confused with the edit-insertion mode, used to determine whether the entire edit as a whole is inserted or overwrites.
If editing begins in the Hex Area, the input for the edit must be in hex. If editing begins in the Data Area, the input for the edit is in characters. If in the Data Area, valid input includes escape sequences. For example, typing “\t” will result in a tab character being entered into the edit. Rules of escape sequences apply, so to type a “\” without allowing it to become part of an escape sequence, enter “\\” instead.
Edit Selection
Click and drag your mouse inside the Edit Box to select parts of your edit.
Background Selection
The background selection (the selection of bytes from the source file or RAM, not related to your edit) is shown a bit greyed out. You can still select data behind the Edit Box by holding Ctrl while dragging over the data you wish to select.
Background Selection (Under Edit Box)
If the edit-insertion mode (not to be confused with the edit mode) is [OVR], you can select areas directly under the Edit Box by holding Ctrl while dragging the mouse. If the edit-insertion mode is [INS], there is technically nothing under the Edit Box, so dragging a selection under this area will either select all or none of the area behind the Edit Box.
Next Byte
The first byte that will not be affected by your edit is shown as transparent under the Edit Box. Typing over this byte will cause the Edit Box to extend one square, showing the next byte as transparent.
While in Editing Mode, the edit-insertion mode is no longer displayed and the edit mode is. Note the difference: the edit-insertion mode has square brackets while the edit mode (shown here) does not. The edit mode can be INS or OVR, and indicates whether values are inserted or overwrite inside the Edit Box. When an edit is complete and you confirm by pressing Enter, the edit-insertion mode determines whether the full edit itself is inserted or overwrites.
Simply entering Edit Mode does not cause any external changes—neither files nor RAM are modified in any way until the edit is confirmed by pressing Enter.
All modifications made in the Hex Editor can be undone with Ctrl-Z and redone with Ctrl-Y.
Hex Addresses
Addresses can be shown in hexadecimal or decimal, and in offsets or as absolute values. The following chart explains each mode.
Mode
Description
Keys
Hexadecimal
Addresses are shown in hexadecimal form. This is the standard form.
To toggle between hexadecimal and decimal displays, hold Ctrl and Shift and click in the address area.
You can also directly select the display type you prefer by using the View/Addresses menu.
Decimal
Addresses are shown in decimal form.
Hexadecimal/Offsets
Addresses are displayed as offsets from the origin in hexadecimal form.
To switch to viewing as offsets, hold Ctrl and click in the address area. The origin is determined by the address clicked.
To go back to the normal view, click in the address area without holding Ctrl.
Decimal/Offsets
Addresses are displayed as offsets from the origin in decimal form.

 Addresses are shown in hexadecimal form. This is the standard form.
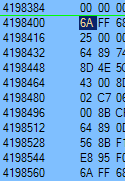 Addresses are shown in decimal form.
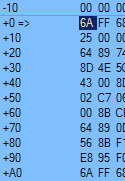 Addresses are displayed as offsets from the origin in hexadecimal form.
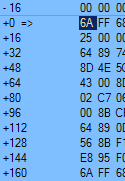 Addresses are displayed as offsets from the origin in decimal form.